Improving Audio for Conference Session Recordings
With the Drupal Recording Initiative
For most YouTube content, audio matters more than video. Viewers will tolerate mediocre visuals, but they won’t stick around for background noise, muffled voices, or inconsistent levels. Many people listen to YouTube while driving, cooking, or working; good audio keeps them engaged, even when they aren’t watching the screen.
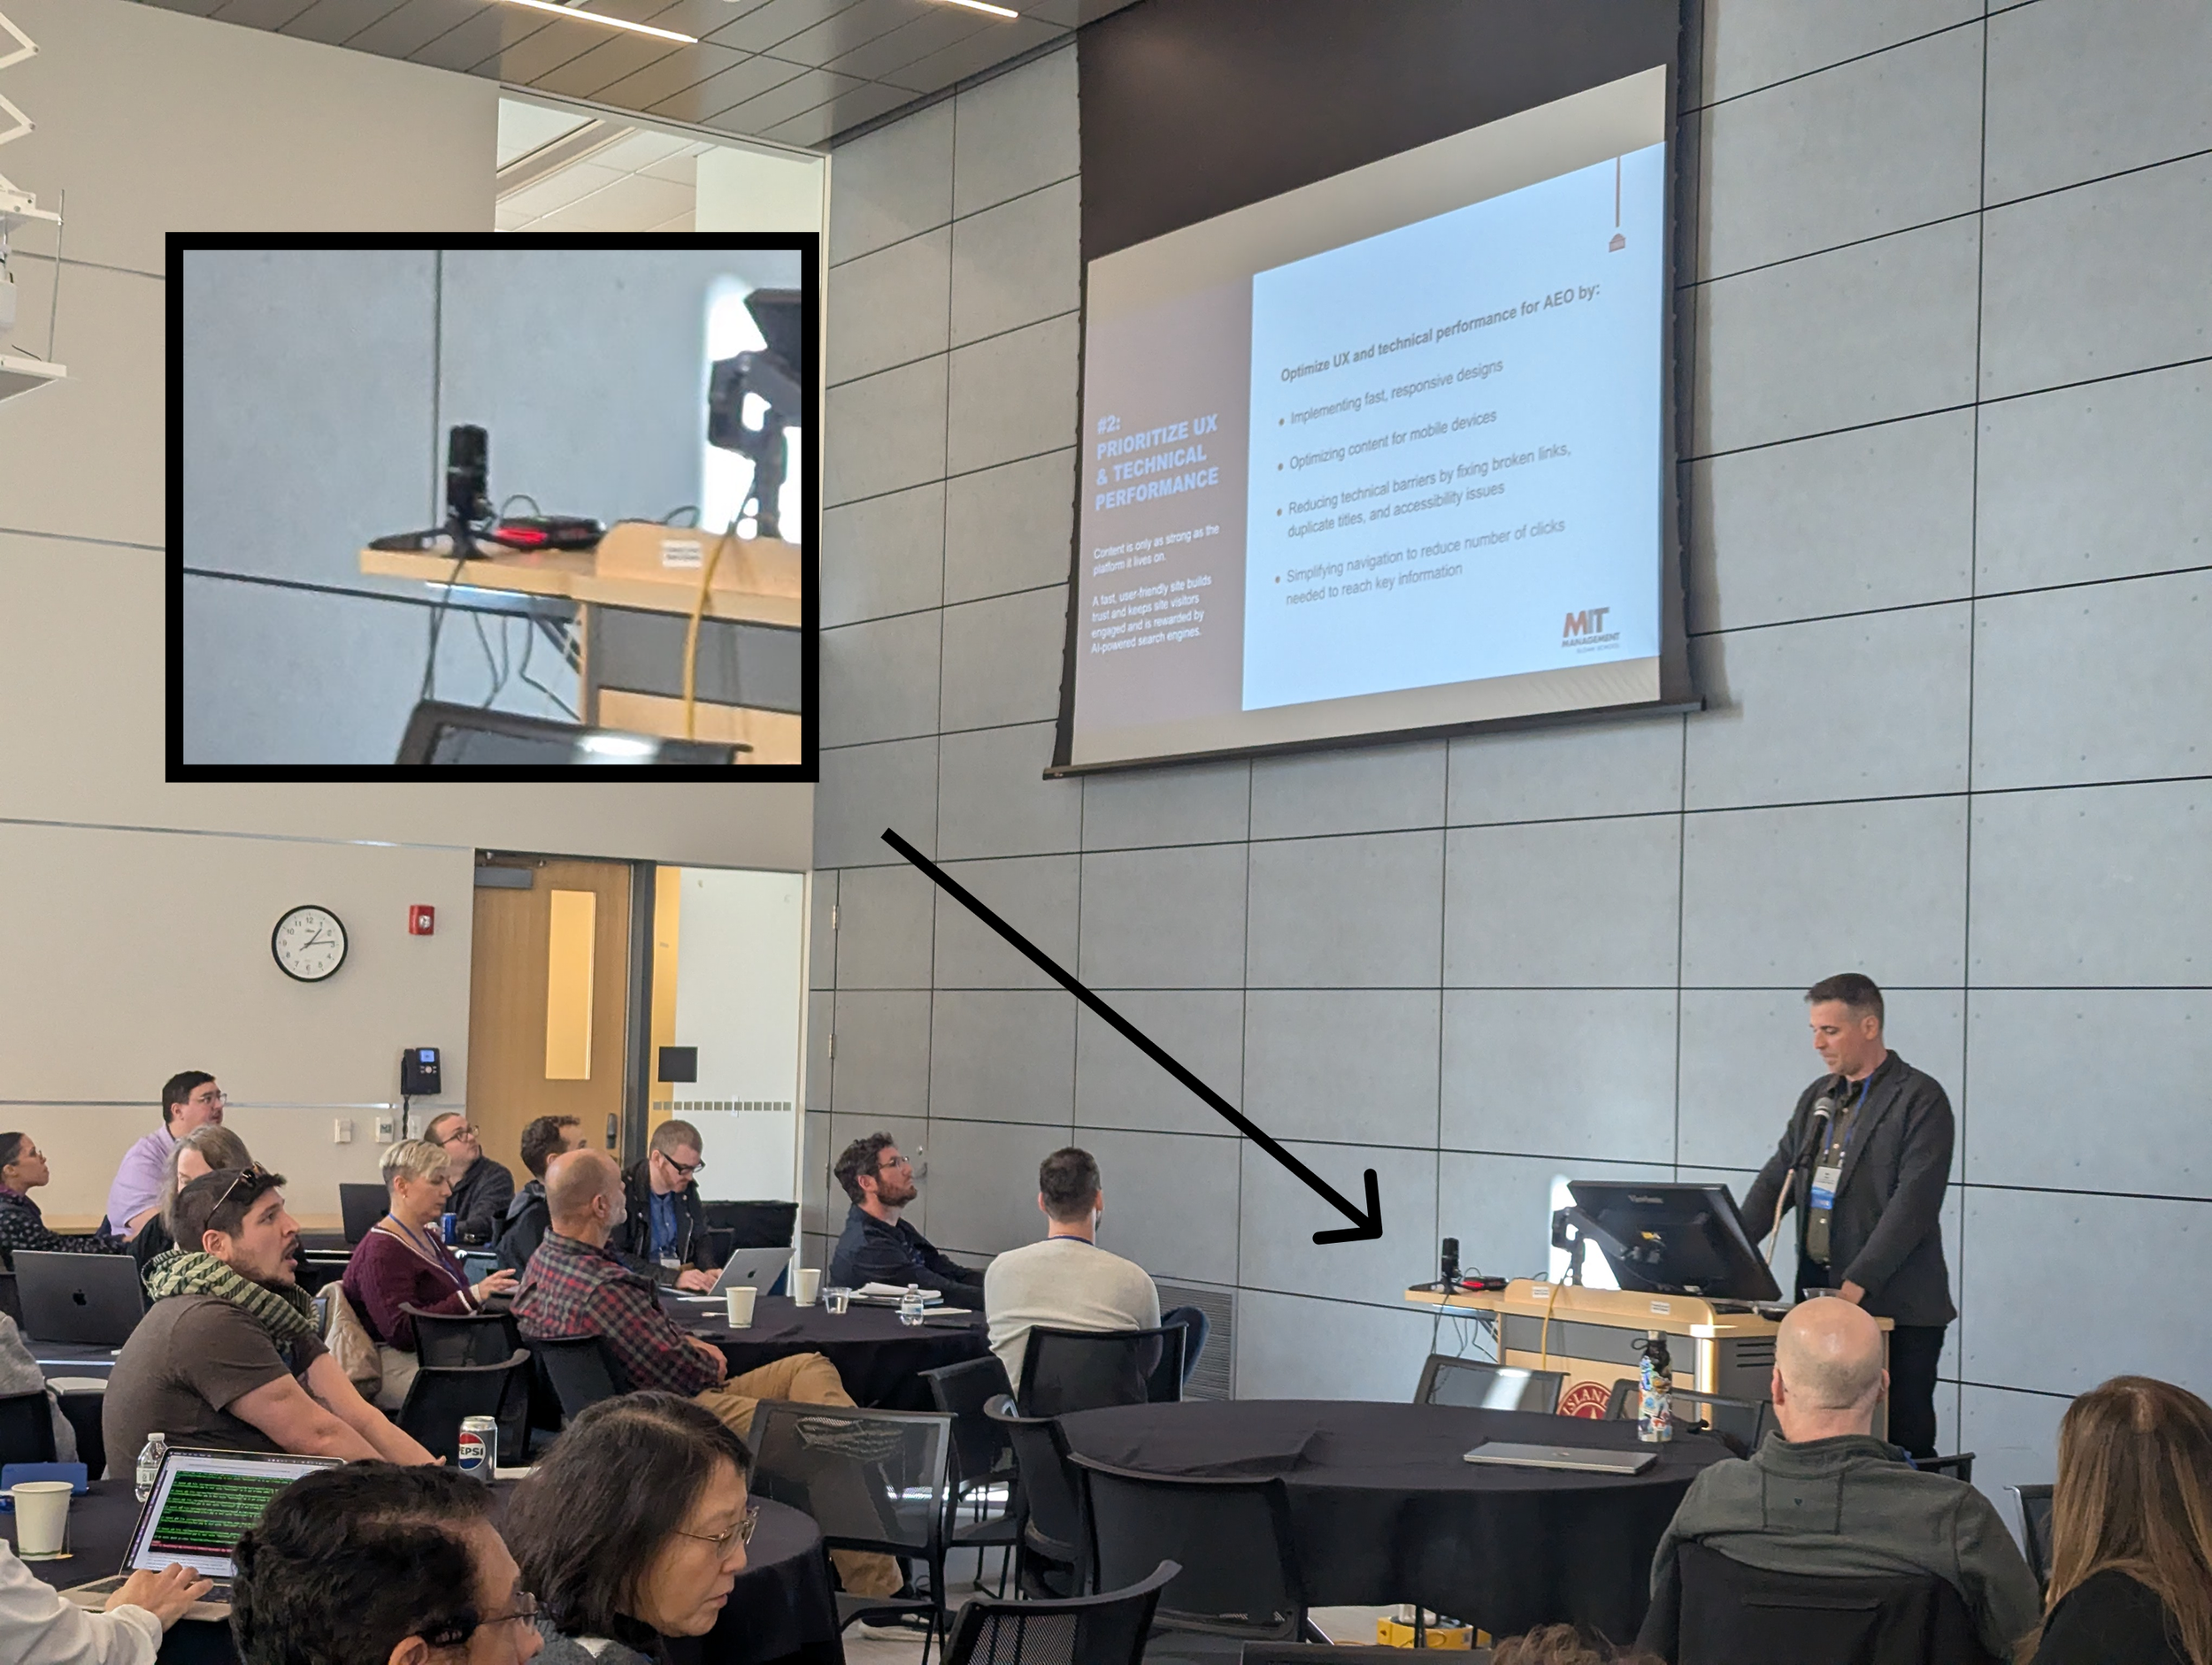
Recently, I assisted in the post-production of twenty-five session recordings from New England Drupal Camp (NEDCamp), a small community-driven conference in Providence, Rhode Island, focused on Drupal. As a non-profit event with limited funding, NEDCamp relies on volunteers for recording. Fortunately, the Drupal Recording Initiative (DRI) makes it possible for community events to capture their sessions without a large budget.
The Drupal Recording Initiative provides a low-tech, straightforward setup for recording conference talks. When everything goes well, you end up with an MP4 file containing the presenter’s screen and room audio; simple, effective, and ready to upload to YouTube. Job done.
Potential Video Enhancements
There are several optional improvements that can boost the overall polish of a session video:
Trim the beginning and end — remove empty moments before and after the talk.
Lower thirds — display the speaker’s name and title.
Sponsor recognition — add logos or a brief acknowledgement.
Intro segment — a short branded opener for the event or sponsors.
These features can make a video look more professional, but they don’t significantly improve the viewer’s experience and they require time, tools, and some editing skill.
The One Enhancement That Does Matter: Audio
The biggest upgrade you can make is cleaning up the audio.
The DRI setup typically uses a Zoom H2N microphone pointed at the room. This captures the presenter as they move around and also picks up audience questions—a feature, not a bug. However, it also means:
lots of background noise
room echo
varying clarity depending on where the speaker stands
The result is often audio that’s serviceable but tiring to listen to for long periods.
The good news
Modern video editors and audio tools now include AI-based voice isolation, and the default settings alone can drastically improve clarity. The learning curve is minimal, and the results can transform a recording from “hard to follow” to “pleasant to listen to.”
Voice Isolation Examples
Below are examples from a 30-second clip of “Optimizing Your Drupal Content Strategy for AI-Powered Search” by Mike Pastore from the Higher Education Summit at NEDCamp.
I’ve listed the processed versions from “least improved” to “most improved” based on my ear.
Original Audio (Zoom H2N)
Listen with headphones for best comparison
Kdenlive – Voice Suppressor for Voice (default settings)
Free, open-source video editor. To learn basic video editing with Kdenlive, check out this video.
Auphonic – Voice Cleaner Preset (default settings)
Online audio-processing service (paid)
DaVinci Resolve – AI Voice Isolation (default settings)
Professional editor; AI Voice Isolation is included in the Studio version
Results
All cleaned versions are noticeably better than the original and improve long-term listening comfort. To my ear, DaVinci Resolve’s AI Voice Isolation produced the best overall results.
To learn basic video editing with Kdenlive, check out this video.